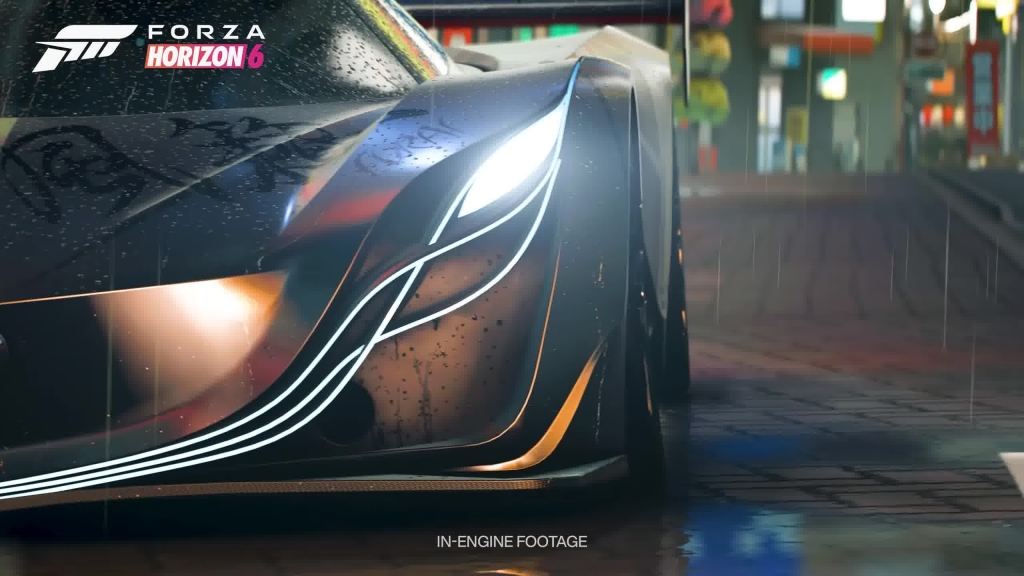
Forza Horizon 6 Beginner Guide: Progression, Collectibles, and More
Forza Horizon 6 has launched to massive early Steam engagement, signaling strong commercial momentum and a return to a deeply systems-driven Horizon experience. For new and returning players, especially those unfamiliar with recent entries, progression can feel layered and slightly opaque at first.
This guide breaks down the core systems—journal progression, collectibles, skill economy, and car tuning—so you can optimize early-game efficiency and avoid wasted time.
1. Core Progression System: The Journal Structure
Forza Horizon 6 replaces the traditional accolade system with a Journal system, split into two distinct progression tracks.
Journal Breakdown
| Journal Track | Focus Area | Primary Activities | Rewards |
| Horizon Festival | Competitive progression | Races, PR stunts, rivals, bonus boards | Wristbands, festival expansion |
| Discover Japan | Exploration & completion | Photography, road discovery, mascots, exploration | Stamps, houses, barn finds |
Each track contributes independently toward unlocking major game milestones.
Key Progression Milestones
| Stage | Requirement | Unlock |
| Early progression | Earn Journal points | New events unlocked |
| Mid progression | Wristband thresholds | Increased festival tiers |
| Final tier | Gold wristband completion | Legend Island access |
The structure encourages alternating between structured racing and open-world exploration rather than specializing too early.
2. Efficient Early Progression Strategy
Progression speed is heavily influenced by activity choice.
Recommended Efficiency Priorities
| Activity Type | Efficiency Rating | Notes |
| Story missions | ★★★★★ | Fastest Journal XP gains |
| Road races | ★★★★☆ | Reliable Festival progression |
| PR stunts | ★★★☆☆ | Good, but slower early |
| Exploration (roads/mascots) | ★★★★☆ | Essential for Discover Japan |
A standout tip is focusing on story chains like photography missions, which deliver large bursts of Journal XP with minimal mechanical difficulty.
3. Collectibles and XP Economy
Collectibles return as a major progression pillar, but with expanded gating and regional integration.
Collectibles Overview
| Collectible Type | XP Reward | Unlock Requirement | Notes |
| Barn Finds | 5,000 XP | Journal level gated | Cannot access early |
| Mascots | Small XP | None | Region-based collectibles |
| XP Boards | Medium XP | None | Some require platforming |
| Treasure Cars | High value unlocks | None | Fixed locations |
Key Design Change
Barn Finds are no longer freely accessible. They now require Journal progression thresholds, meaning exploration alone is insufficient—you must actively progress Festival or Discover Japan objectives first.
4. Skill Points and Driving Economy
Skill points remain central to vehicle mastery and progression.
Skill Point System
1 Skill Point=50,000 Skill Score1\ \text{Skill Point} = 50{,}000\ \text{Skill Score}1 Skill Point=50,000 Skill Score
| Mechanic | Cap / Rule |
| Max skill chain reward | 10 skill points |
| Max stored skill points | 999 |
| Efficient drift cap | ~500,000 score optimal |
| Best farming method | Airstrip drifting loops |
Efficient Farming Locations
| Location | Why It Works |
| Eastern Airstrip | Long straights, no obstacles |
| Estate maps | Custom skill farming layouts |
| Open desert roads | High-speed chaining zones |
Skill points are also used in Car Mastery, where they unlock perks ranging from XP boosts to direct currency rewards.
5. Car Classes and Competitive Balance
Vehicle class selection is more important than ever due to tightly tuned handling in Japan’s road environments.
Recommended Class Usage
| Class | Recommended Use | Reason |
| B Class | Early progression | Stable handling |
| A Class | General racing | Balanced speed/control |
| S1 Class | Competitive racing | Optimal meta range |
| S2 / X Class | Endgame only | Too fast for tight tracks |
Practical Loadout Strategy
| Role | Example Car Type |
| Straight-line speed | Ultima Evolution-style hypercars |
| Drift farming | Formula Drift cars / Silvia builds |
| Off-road racing | Mitsubishi Montero-style SUVs |
A balanced garage is more effective than over-specialization.
6. Aftermarket Cars and Special Finds
A new system introduces rotating aftermarket dealerships across the map.
Key Features
| Feature | Behavior |
| Inventory rotation | Dynamic availability |
| Discount pricing | Occasional deals |
| FE variants | Rare but possible |
| Location-based spawns | Tokyo outskirts, ski resorts |
Example rare find: performance-oriented FE variants occasionally appear in regions like Suteyama Ski Resort or Daikoku parking zones.
7. Skill Tuning and Car Mastery System
Car Mastery now plays a larger economic role.
Mastery Benefits
- Instant credits rewards
- XP boosts
- Unlockable legacy vehicles
- Performance perks per car
This is where players indirectly interact with Forza Horizon 6 Credits, as mastery rewards can significantly accelerate early economic scaling.
Players looking to accelerate garage expansion sometimes also reference options like Buy FH6 Credits, especially when targeting specific builds for competitive or collection purposes.
8. Driving Assists and Handling Setup
Assists are more flexible than ever, but the default tuning philosophy leans toward controlled realism.
Recommended Settings
| Setting | Recommendation |
| ABS | On (recommended) |
| Stability control | Optional |
| Handling model | Simulation (controller-friendly) |
| Drift camera | Enabled for precision slides |
Disabling assists fully unlocks advanced drifting mechanics, especially with cockpit camera enhancements (540° steering animation support).
9. Road Discovery and Exploration Mechanics
Map progression is now tied to regional completion rather than full map clearing.
| Region Completion | Requirement |
| Standard unlock | Drive key roads |
| Regional completion | ~75% road discovery |
| Full map mastery | Optional completionist goal |
Fast travel is now tied to previously visited locations, encouraging organic exploration over UI-based navigation.
10. Quick Reference Optimization Table
| System | Best Early Focus | Priority Level |
| Journal progression | Story missions | Very High |
| Skill points | Airstrip drifting | High |
| Collectibles | XP boards + mascots | Medium |
| Cars | Balanced garage setup | High |
| Economy | Mastery rewards + credits | High |
Closing Perspective
Forza Horizon 6’s design is built around layered progression loops: racing feeds journal XP, exploration feeds unlocks, and skill systems reinforce both. Mastering the interplay between these systems early is the difference between slow progression and efficient world domination across Japan’s map.
The most successful players will not specialize too early—they will rotate between racing, exploration, and mastery farming to maintain constant progression across all systems.